1. Introduction
1.1 Hibernate
- Object-Relational Mapping or ORM is the programming technique to map application domain model objects to the relational database tables
- Hibernate is Java-based ORM tool that provides the framework for mapping application domain objects to the relational database tables and vice versa. It provides reference implementation of Java Persistence API, that makes it a great choice as an ORM tool with benefits of loose coupling
- Framework provides option to map plain old Java objects to traditional database tables with the use of JPA annotations as well as XML based configuration
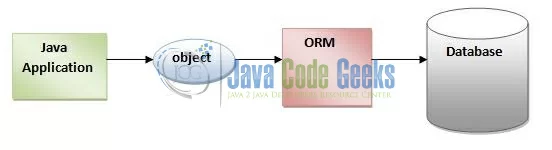
Fig. 1: Hibernate Overview
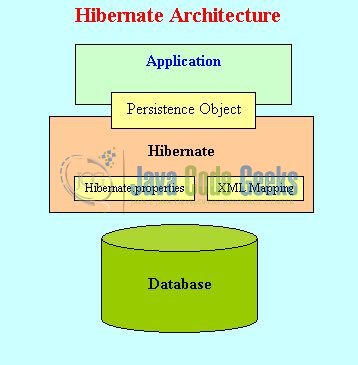
1.2 Hibernate Architecture
There are 4 layers in the Hibernate architecture i.e. Java Application Layer, Hibernate Framework Layer, Backend API Layer, and the Database Layer. Let’s understand the diagram of Hibernate architecture.

Fig. 2: Hibernate Architectural Diagram
For creating the first Hibernate application, we must know the elements of the Hibernate architecture. They are as follows:
| Element |
Description |
SessionFactory |
The SessionFactory is a factory of session and client of Connection Provider. It holds second level cache (optional) of data |
Session |
The session object provides an interface between the application and data stored in the database. It is a short-lived object and wraps the JDBC connection. It is a factory of Transaction, Query and Criteria and holds the first-level cache of data. The Session interface provides methods to INSERT, UPDATE, and DELETE the objects |
Transaction |
The transaction object specifies the atomic unit of work and is an optional parameter in the Hibernate framework |
ConnectionProvider |
It is a factory of JDBC connections and abstracts the application from DriverManager or DataSource. It is optional parameter in the Hibernate framework |
TransactionFactory |
It is a factory of Transaction and is again an optional parameter in the Hibernate framework |
1.3 Hibernate Benefits
There are many advantages of using the Hibernate framework, for e.g.
-
- Hibernate framework is open-source and lightweight
- The performance of Hibernate framework is fast and supports smart fetching techniques because of the internal caching mechanism
- Hibernate framework provides the facility to create the database tables automatically
- With the help of
HQL (Hibernate Query Language), the generated SQL queries are independent of databases
- Provides query facilities to fetch the data from multiple databases, and supports transaction management and automatic key generations
- Provides APIs for storing and retrieving the Java objects directly to and from the database
- Framework takes care of the mapping Java classes to database tables using XML files or annotations
1.4 Maven
Apache Maven is one of the most popular Software project management and comprehension tool, based on a central piece of information called Project Object Model (POM). Project-based on Maven gets its compilation, build, reporting and documentation instructions from an XML file named pom.xml.
pom.xml is a standard XML file complying Maven scheme. It contains the dependencies required by the project, the plugins that the project might need, the repository that the project can look into to search for the dependencies, the parent/child module information in case of multi-module projects, the profile to support different builds for different situations/environments and many more features.
1.4.1 Ant vs. Maven
Ant and Maven both are build tools provided by Apache. The main purpose of these technologies is to ease the build process of a project. There are many differences between Ant and Maven and they are given below:
| Ant |
Maven |
Ant doesn’t have formal conventions, so we need to provide information of the project structure in build.xml file |
Maven has a convention to place source code, compiled code etc. So we don’t need to provide information about the project structure in pom.xml file |
| Ant is procedural, you need to provide information about what to do and when to do through code. You need to provide order |
Maven is declarative, everything you define in the pom.xml file |
| It is mainly a build tool and has no life cycle |
It is a project management tool and has its own lifecycle |
| The Ant scripts are not reusable |
The Maven plugins are reusable |
1.5 Download and Install Hibernate
You can read this tutorial in order to download and install Hibernate in the Eclipse IDE.
1.6 Download and Install MySQL
You can watch this video in order to download and install the MySQL database on your Windows operating system.
1.7 Download and Install Maven
You can read this tutorial in order to download and install Maven on your Windows operating system.
Now, open up the Eclipse IDE and let’s see how to implement Maven!
2. Hibernate Maven Example
2.1 Tools Used
We are using Eclipse Kepler SR2, JDK 8, MySQL Database and Maven. Having said that, we have tested the code against JDK 1.7 and it works well.
2.2 Project Structure
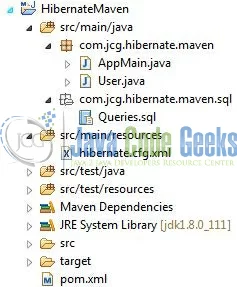
Fig. 3: Hibernate Maven Application Project Structure
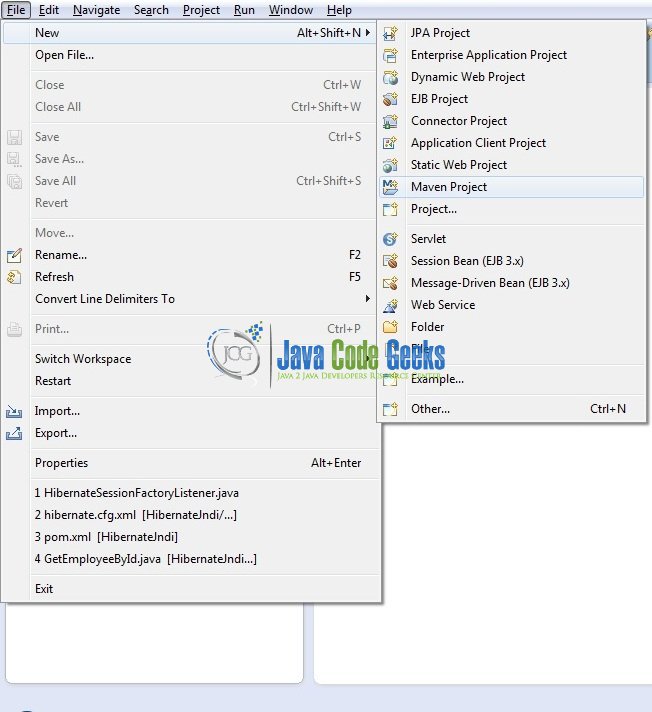
2.3 Project Creation
This section will demonstrate on how to create a Java-based Maven project with Eclipse. In Eclipse IDE, go to File -> New -> Maven Project.

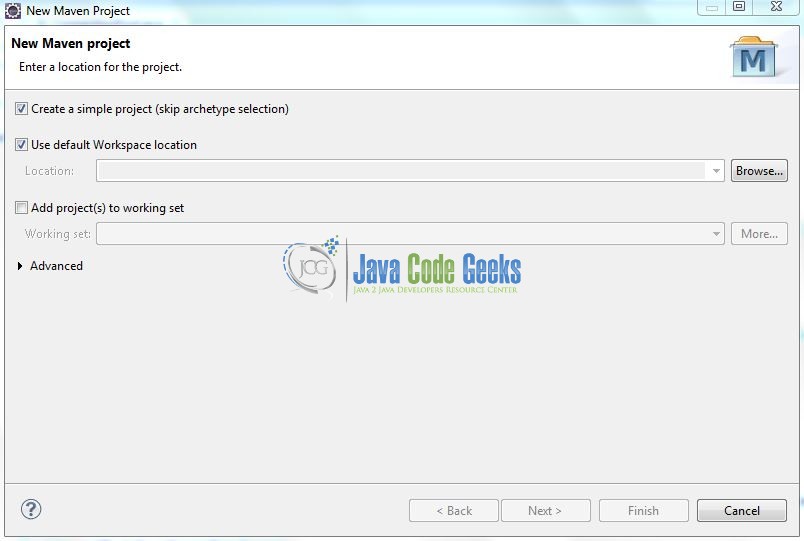
Fig. 3: Create Maven Project
In the New Maven Project window, it will ask you to select project location. By default, ‘Use default workspace location‘ will be selected. Select the ‘Create a simple project (skip archetype selection)‘ checkbox and just click on next button to proceed.

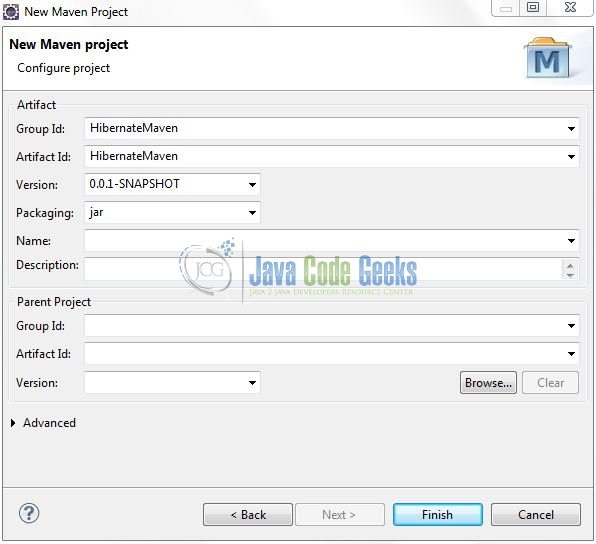
Fig. 4: Project Details
It will ask you to ‘Enter the group and the artifact id for the project’. We will input the details as shown in the below image. The version number will be by default 0.0.1-SNAPSHOT.

Fig. 5: Archetype Parameters
Click on Finish and the creation of a maven project is completed. If you observe, it has downloaded the maven dependencies and a pom.xml file will be created. It will have the following code:
pom.xml
|
1
2
3
4
5
6
7
|
<modelVersion>4.0.0</modelVersion>
<groupId>HibernateMaven</groupId>
<artifactId>HibernateMaven</artifactId>
<version>0.0.1-SNAPSHOT</version>
<packaging>jar</packaging>
</project>
|
We can start adding the dependencies that developers want like Hibernate, MySQL etc. Let’s start building the application!
3. Application Building
Below are the steps involved in developing this application.
3.1 Database & Table Creation
The following MySQL script is used to create a database called tutorialDb with table: user_table. Open MySQL terminal or workbench terminal and execute the script.
|
01
02
03
04
05
06
07
08
09
10
11
12
13
|
CREATE DATABASE IF NOT EXISTS tutorialDb;
USE tutorialDb;
DROP TABLE IF EXISTS user_table;
CREATE TABLE user_table (
user_id int(20) NOT NULL,
user_name varchar(255) NULL,
created_by VARCHAR (255) NOT NULL,
created_date DATE NOT NULL,
PRIMARY KEY (user_id)
);
|
If everything goes well, the table will be shown in the MySQL workbench.
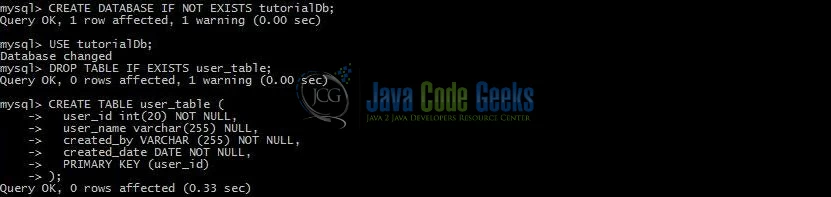
Fig. 6: Database & Table Creation
3.2 Maven Dependencies
Here, we specify only two dependencies for Hibernate Core and MySQL Connector. Rest dependencies will be automatically resolved by Maven, such as Hibernate JPA and Hibernate Commons Annotations. The updated file will have the following code:
pom.xml
|
01
02
03
04
05
06
07
08
09
10
11
12
13
14
15
16
17
18
19
20
21
22
23
24
|
<modelVersion>4.0.0</modelVersion>
<groupId>HibernateMaven</groupId>
<artifactId>HibernateMaven</artifactId>
<version>0.0.1-SNAPSHOT</version>
<dependencies>
<dependency>
<groupId>org.hibernate</groupId>
<artifactId>hibernate-core</artifactId>
<version>4.3.6.Final</version>
</dependency>
<dependency>
<groupId>mysql</groupId>
<artifactId>mysql-connector-java</artifactId>
<version>5.1.21</version>
</dependency>
</dependencies>
<build>
<finalName>${project.artifactId}</finalName>
</build>
</project>
|
Maven will download all Hibernate and MySQL libraries automatically and it will put them into Maven’s local repository. At the same time, Maven will add the downloaded libraries into Eclipse .classpath file for dependency purpose.
3.3 Java Class Creation
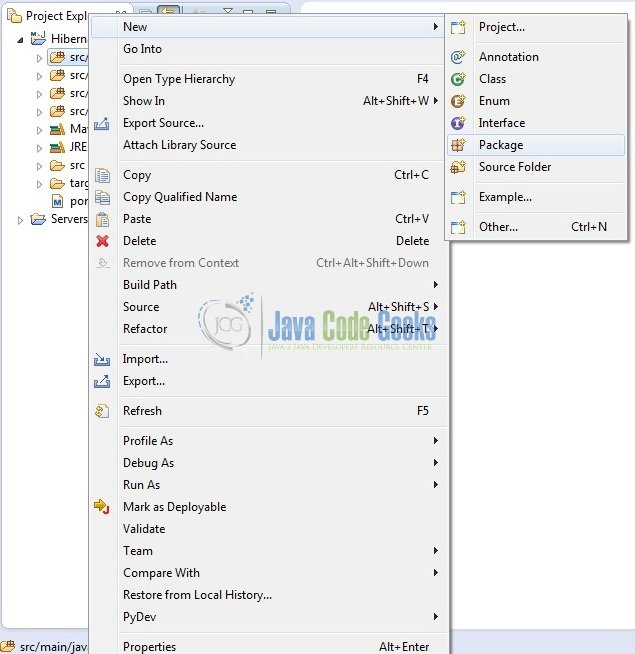
Let’s create the required Java files. Right-click on src/main/java folder, New -> Package.

Fig. 7: Java Package Creation
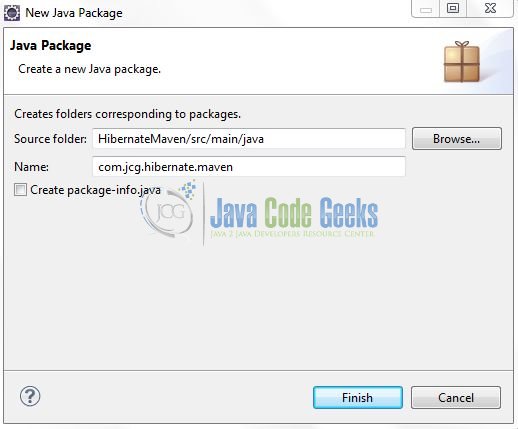
A new pop window will open where we will enter the package name as: com.jcg.hibernate.maven.
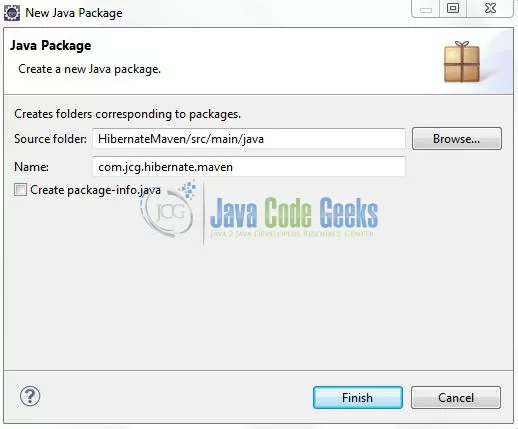
Fig. 8: Java Package Name (com.jcg.hibernate.maven)
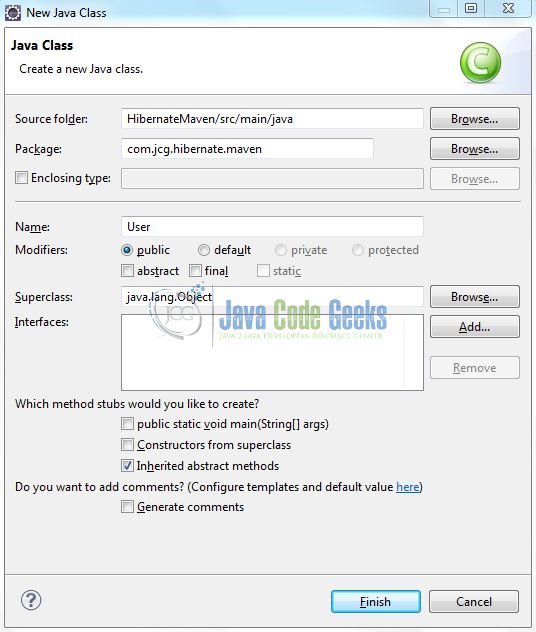
Once the package is created in the application, we will need to create the model and implementation classes. Right-click on the newly created package: New -> Class.
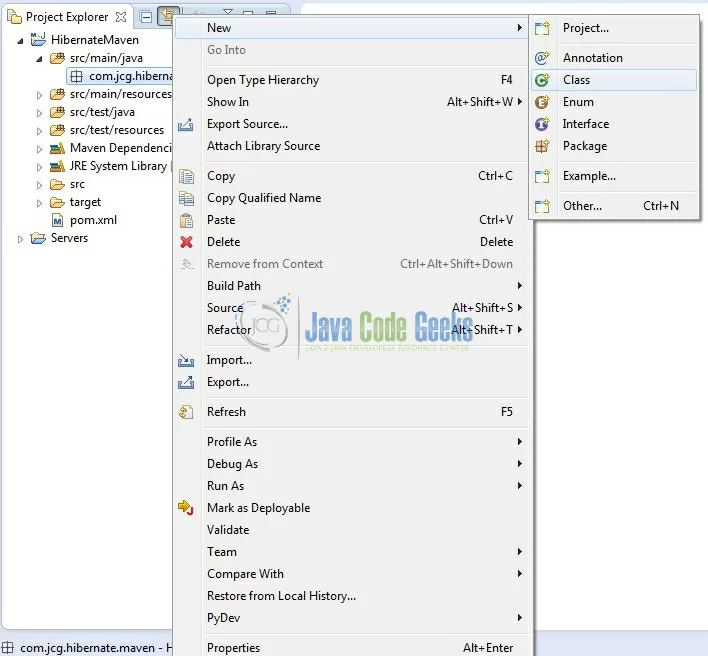
Fig. 9: Java Class Creation
A new pop window will open and enter the file name as User. The model class will be created inside the package: com.jcg.hibernate.maven.
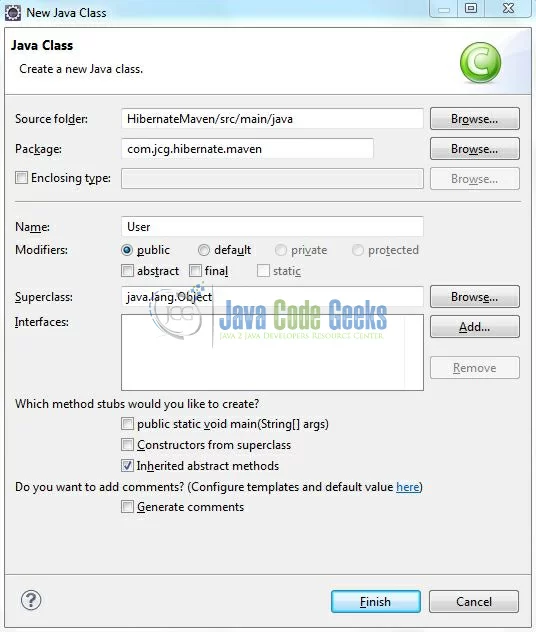
Fig. 10: Java Class (User.java)
Repeat the step (i.e. Fig. 9) and enter the filename as AppMain. The implementation class will be created inside the package: com.jcg.hibernate.batch.processing.
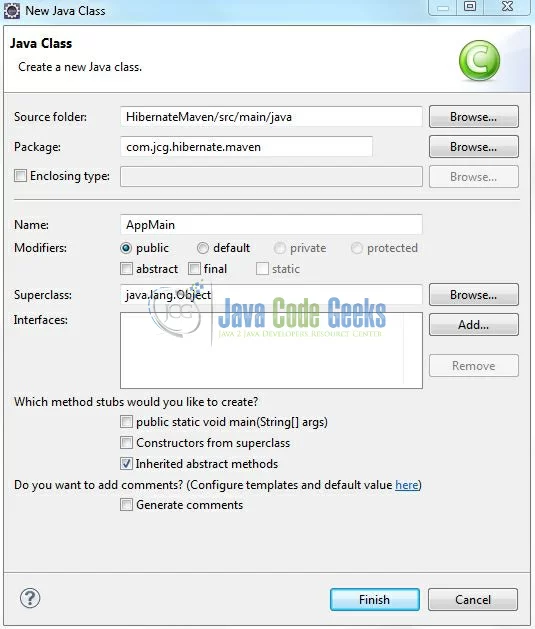
Fig. 11: Java Class (AppMain.java)
3.3.1 Implementation of Model Class
Consider the following POJO class and add the following code to it:
User.java
|
01
02
03
04
05
06
07
08
09
10
11
12
13
14
15
16
17
18
19
20
21
22
23
24
25
26
27
28
29
30
31
32
33
34
35
36
37
38
39
40
41
42
43
44
45
46
47
48
49
50
51
52
53
54
55
56
57
58
|
package com.jcg.hibernate.maven;
import java.util.Date;
import javax.persistence.Column;
import javax.persistence.Entity;
import javax.persistence.Id;
import javax.persistence.Table;
@Entity
@Table(name = "user_table")
public class User {
@Id
@Column(name = "user_id")
private int userid;
@Column(name = "user_name")
private String username;
@Column(name = "created_by")
private String createdBy;
@Column(name = "created_date")
private Date createdDate;
public int getUserid() {
return userid;
}
public void setUserid(int userid) {
this.userid = userid;
}
public String getUsername() {
return username;
}
public void setUsername(String username) {
this.username = username;
}
public String getCreatedBy() {
return createdBy;
}
public void setCreatedBy(String createdBy) {
this.createdBy = createdBy;
}
public Date getCreatedDate() {
return createdDate;
}
public void setCreatedDate(Date createdDate) {
this.createdDate = createdDate;
}
}
|
3.3.2 Implementation of Utility Class
This class helps in creating the SessionFactory from the Hibernate configuration file and interacts with the database to perform the Hibernate operation. Add the following code to it:
AppMain.java
|
01
02
03
04
05
06
07
08
09
10
11
12
13
14
15
16
17
18
19
20
21
22
23
24
25
26
27
28
29
30
31
32
33
34
35
36
37
38
39
40
41
42
43
44
45
46
47
48
49
50
51
52
53
54
55
56
57
58
59
60
61
|
package com.jcg.hibernate.maven;
import java.util.Date;
import org.hibernate.Session;
import org.hibernate.SessionFactory;
import org.hibernate.boot.registry.StandardServiceRegistryBuilder;
import org.hibernate.cfg.Configuration;
import org.hibernate.service.ServiceRegistry;
public class AppMain {
static User userObj;
static Session sessionObj;
static SessionFactory sessionFactoryObj;
private static SessionFactory buildSessionFactory() {
Configuration configObj = new Configuration();
configObj.configure("hibernate.cfg.xml");
ServiceRegistry serviceRegistryObj = new StandardServiceRegistryBuilder().applySettings(configObj.getProperties()).build();
sessionFactoryObj = configObj.buildSessionFactory(serviceRegistryObj);
return sessionFactoryObj;
}
public static void main(String[] args) {
System.out.println(".......Hibernate Maven Example.......\n");
try {
sessionObj = buildSessionFactory().openSession();
sessionObj.beginTransaction();
for(int i = 101; i <= 105; i++) {
userObj = new User();
userObj.setUserid(i);
userObj.setUsername("Editor " + i);
userObj.setCreatedBy("Administrator");
userObj.setCreatedDate(new Date());
sessionObj.save(userObj);
}
System.out.println("\n.......Records Saved Successfully To The Database.......\n");
sessionObj.getTransaction().commit();
} catch(Exception sqlException) {
if(null != sessionObj.getTransaction()) {
System.out.println("\n.......Transaction Is Being Rolled Back.......");
sessionObj.getTransaction().rollback();
}
sqlException.printStackTrace();
} finally {
if(sessionObj != null) {
sessionObj.close();
}
}
}
}
|
3.4. Hibernate Configuration File
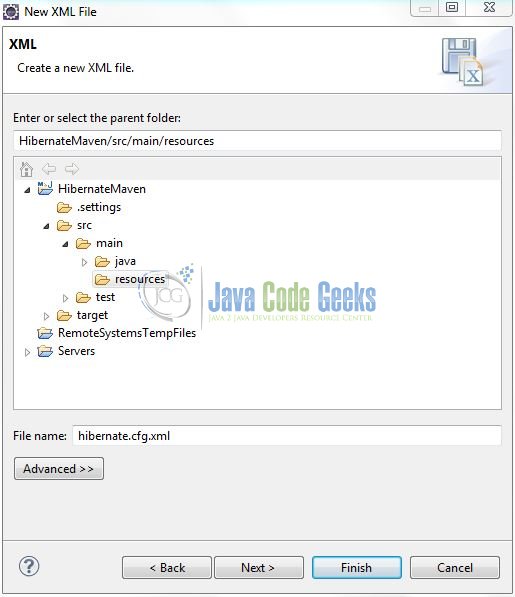
To configure the Hibernate framework, we need to implement a configuration file i.e. hiberncate.cfg.xml. Right click on src/main/resources folder, New -> Other.
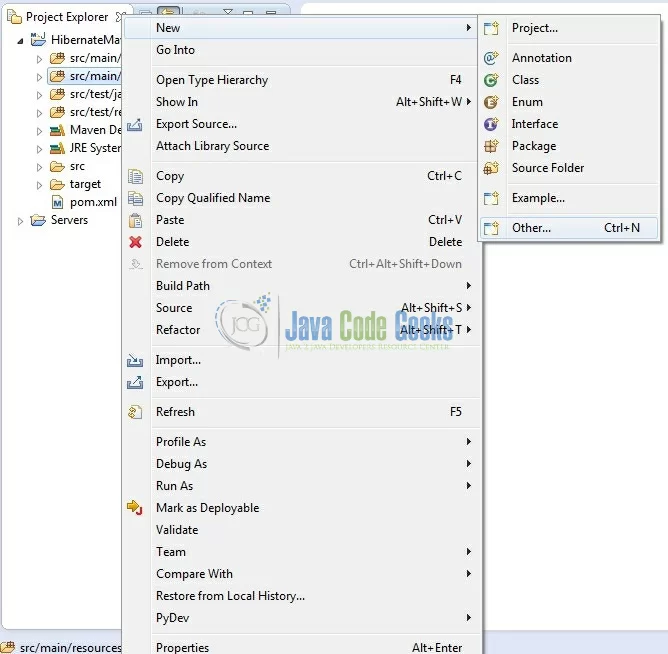
Fig. 12: XML File Creation
A new pop window will open and select the wizard as an XML file.
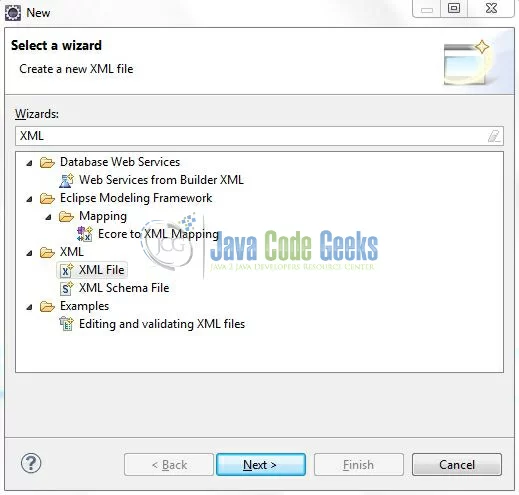
Fig. 13: Wizard Selection
Again, a pop-up window will open. Verify the parent folder location as HibernateMaven/src/main/resources and enter the file name as hibernate.cfg.xml. Click Finish.
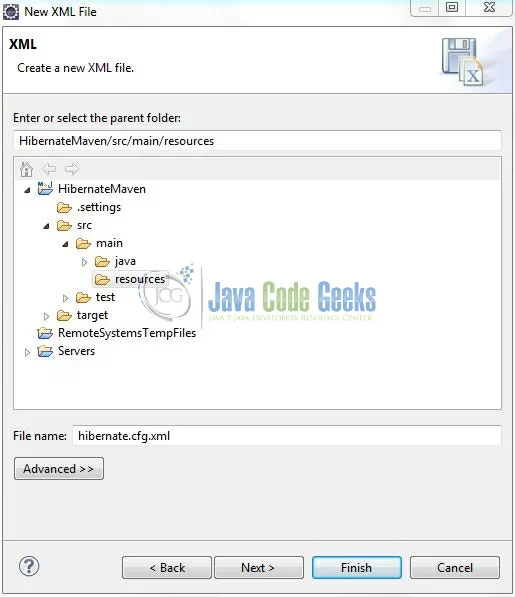
Fig. 14: hibernate.cfg.xml
Once the file is created, we will include the database configuration and mapping classes details. Add the following code to it:
hibernate.cfg.xml
|
01
02
03
04
05
06
07
08
09
10
11
12
13
14
15
16
17
18
19
20
21
22
23
24
|
<?xml version='1.0' encoding='UTF-8'?>
<!DOCTYPE hibernate-configuration PUBLIC
"-//Hibernate/Hibernate Configuration DTD 3.0//EN"
<hibernate-configuration>
<session-factory>
<property name="hibernate.dialect">org.hibernate.dialect.MySQLDialect</property>
<property name="hibernate.connection.driver_class">com.mysql.jdbc.Driver</property>
<property name="hibernate.connection.username">root</property>
<property name="hibernate.connection.password"></property>
<property name="show_sql">true</property>
<property name="hibernate.current_session_context_class">org.hibernate.context.internal.ThreadLocalSessionContext</property>
<mapping class="com.jcg.hibernate.maven.User" />
</session-factory>
</hibernate-configuration>
|
Notes:
- Here, we instructed Hibernate to connect to a MySQL database named
tutorialDb and the Mapping classes to be loaded
- We have also instructed Hibernate framework to use
MySQLDialect i.e. Hibernate will optimize the generated SQL statements for MySQL
- This configuration will be used to create a Hibernate
SessionFactory object
show_sql: This tag will instruct the Hibernate framework to log all the SQL statements on the console
4. Run the Application
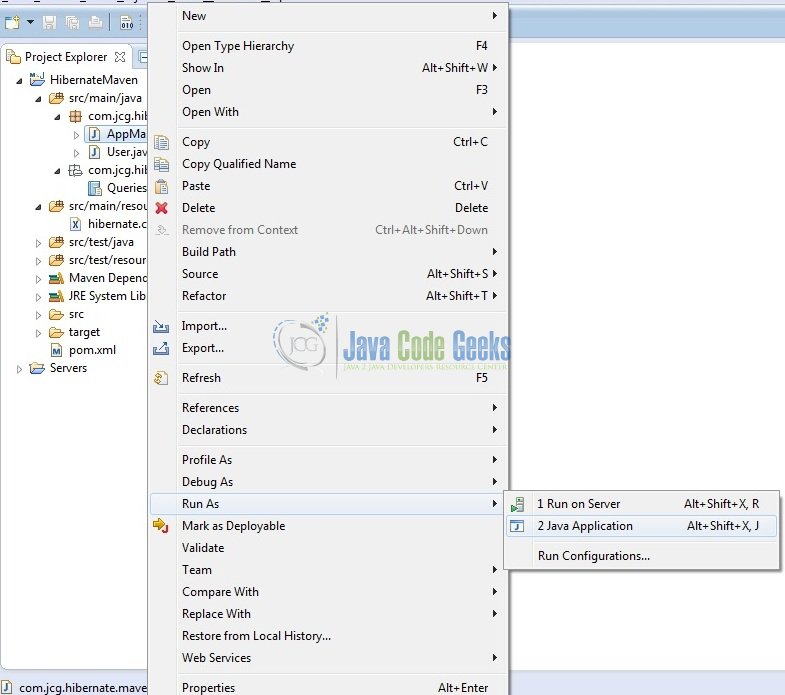
To run the Hibernate application, Right click on the AppMain class -> Run As -> Java Application.
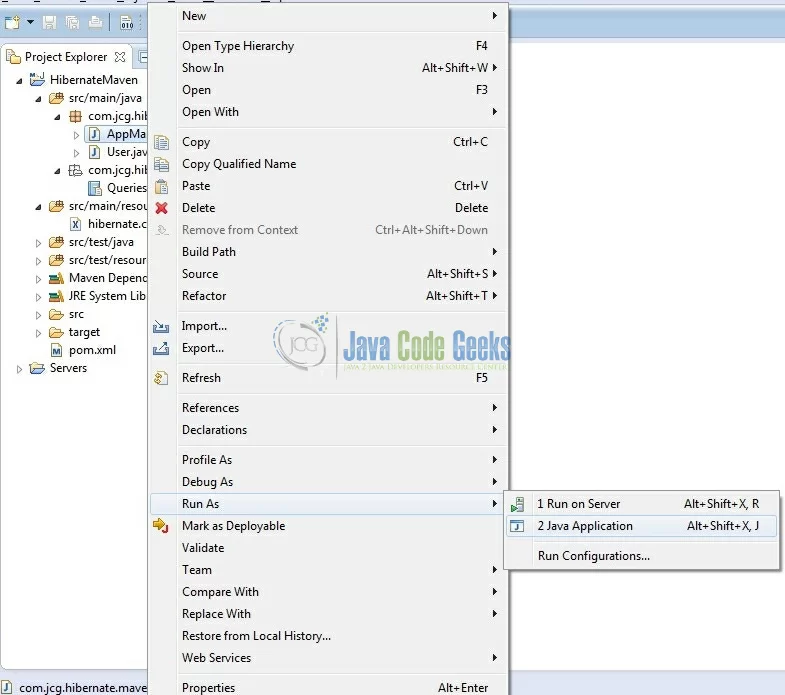
Fig. 15: Run Application
5. Project Demo
Executing the AppMain class, you will see the records in user_table table. Developers can debug the example and see what happens in the database after every step. Enjoy!

Fig. 16: Application Output
Below is a snapshot of the MySQL Database after the execution of the above program.
User Table

Fig. 17: User Table Records
That’s all for this post. Happy Learning!!
6. Conclusion
Hibernate is very useful, it takes plenty of work on itself. The main aim of Hibernate is to make development more easy and convenient. With Maven a basic shell project is ready for Hibernate based development. That’s all for Hibernate Maven tutorial and I hope this article served you whatever you were looking for.